
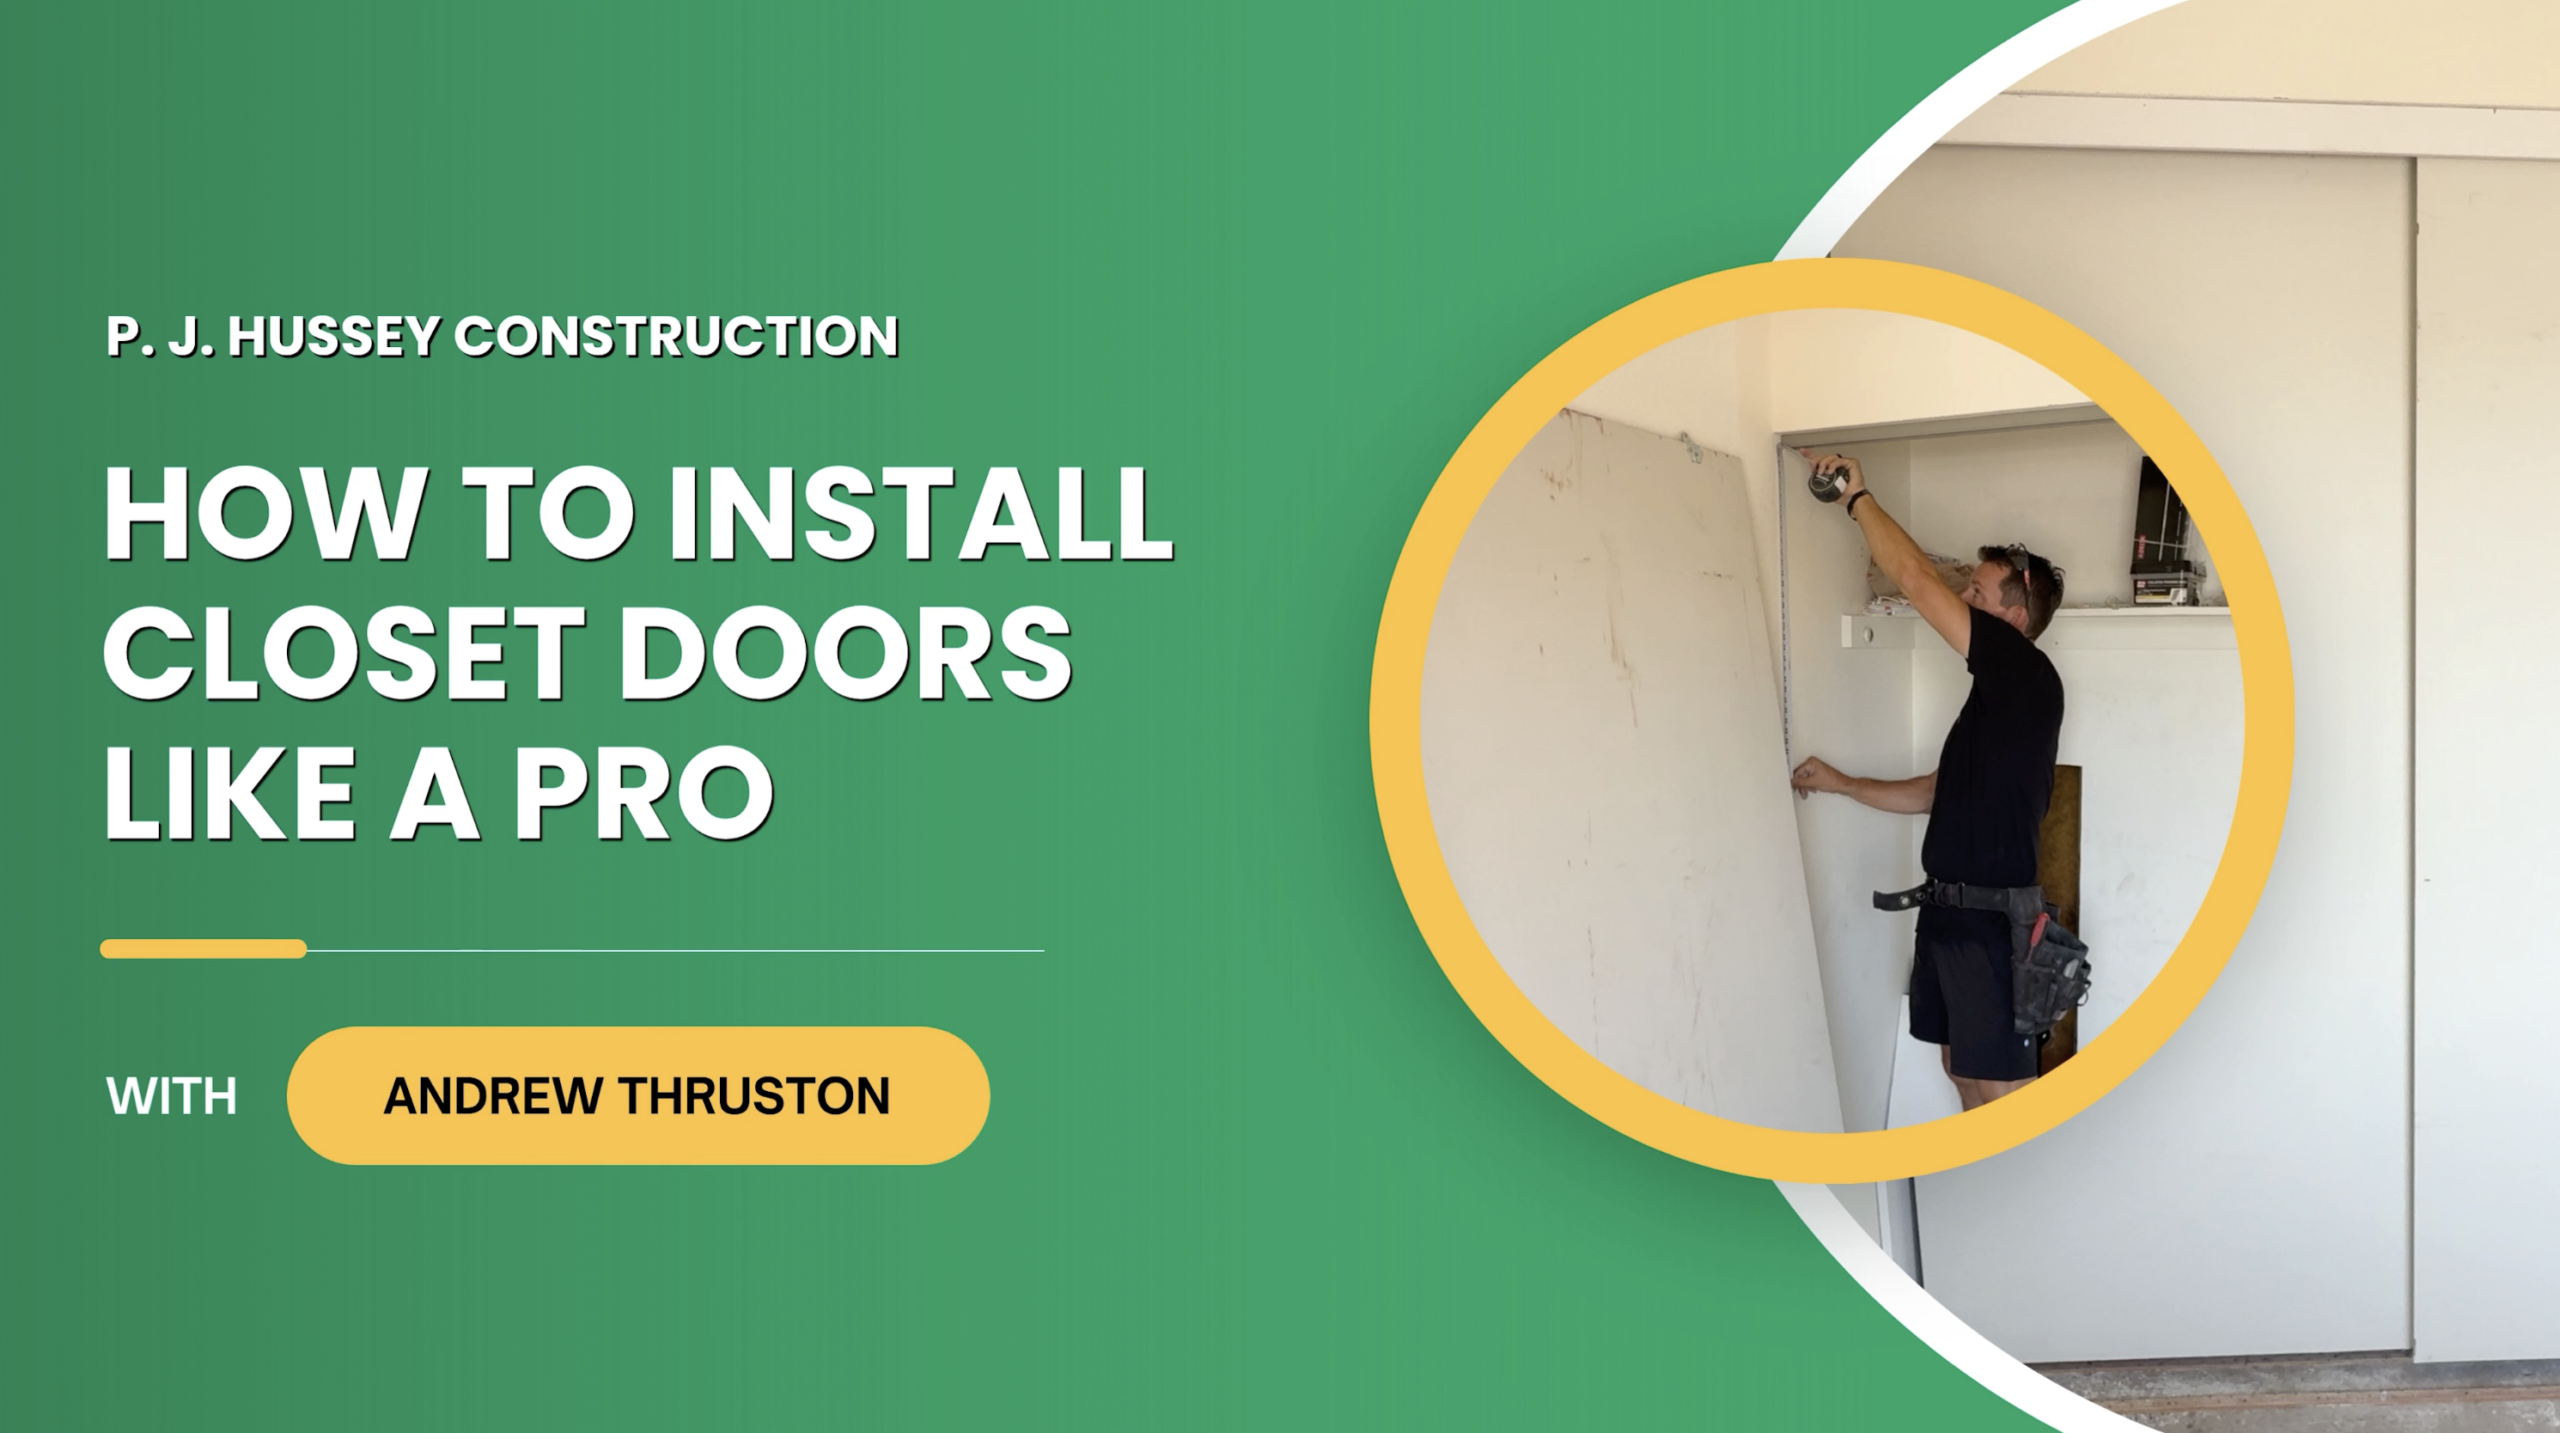
Sliding Closet Door Installation Tips | P. J. Hussey
Sliding closet door installation can seem like a simple finishing task. However, the track placement, trim, and door stops all deserve attention. These details help create a finished opening and keep the doors from hitting the surrounding drywall.
In this video, Andrew Thruston with P. J. Hussey Construction walks through how our team approaches bypass sliding closet doors. From choosing slab doors to measuring and cutting the side trim, he shares the details he wants our crews to get right.
Table of Contents
Why We Chose Slab Doors for This Closet
For this project, our team reframed an existing eight-foot-tall closet opening to accommodate shorter doors. Andrew chose slab doors from Home Depot to use with bypass sliding hardware.
Bypass doors slide past one another on separate tracks, providing access to the closet without swinging into the bedroom.
Andrew prefers the slab-door approach over the thin, metal-framed closet door kits he describes in the video. It gives our team more control over the trim and finished appearance.
If you’re considering a similar setup, check that the sliding hardware is compatible with your selected doors, including their thickness and weight. The dimensions shown in this project apply to this particular opening.
Position the Track Before Measuring the Side Trim
One of Andrew’s first steps is temporarily positioning the overhead track with a couple of screws. This gives him a clear reference point for measuring from the floor to the underside of the track.
That measurement determines the length of the vertical wood pieces he’s preparing for the sides of the opening. It is not the door-cutting measurement.
You could measure to the top of the opening and subtract the track height. However, Andrew finds it easier to position the track first and measure directly to it.
For your own sliding closet door installation, follow the hardware manufacturer’s instructions for track placement, fastening, and door clearances.
Add Wood Stops to Protect the Drywall
A detail Andrew emphasizes throughout the video is keeping the sliding doors from running directly into drywall.
Our team adds wood at the sides of the opening to provide a contact surface for the doors. This also helps give the closet a more intentional, finished appearance.
Andrew demonstrates how casing and stop molding work together along the sides. Their placement needs to account for both the moving door and the decorative trim that will finish the front of the opening.
Before securing these pieces, check their relationship to the door’s path. You want the door to move freely while meeting the intended wood surface when closed.
Make Clear Marks Before Cutting Trim
Clean trim work starts with an accurate mark.
Andrew recommends using a pencil and a speed square to mark a straight line across the material. A thick marker leaves a wider line, making it harder to identify the exact cut location.
In the video, he also demonstrates using a speed square as a guide for a circular saw. The goal is a straight, controlled cut that lets the vertical trim fit neatly beneath the track.
Take time to confirm each measurement before cutting. Small differences in an opening can affect how the pieces fit.
Keep Cutting Dust Outside the Bedroom
Andrew takes the trim outside to cut it on sawhorses rather than cutting inside the project.
Cutting indoors spreads dust onto walls and nearby surfaces, adding cleanup to a room that may already be close to finished. Setting up a separate cutting area helps keep the workspace cleaner.
He also calls out wearing safety glasses before making the cuts.
Plan the Decorative Finish Before Fastening Everything
The side stops and front casing need to work together. As Andrew explains, their spacing should allow room for the sliding doors and the decorative finish.
Some small gaps near the top of the side pieces will be concealed by the planned casing. That makes it useful to understand the complete trim layout before permanently attaching each piece.
Think through the finished opening as you work: where the doors travel, where they stop, and how the casing covers the edges. Planning those relationships early helps avoid adjustments later.
Frequently Asked Questions
Do bypass closet doors need a bottom guide?
Many bypass door systems use a bottom guide to keep the doors aligned and prevent them from swinging outward. Check the instructions for your specific hardware to determine the required guide and its placement.
Can you install sliding closet doors over carpet?
Yes, but you need to account for the carpet and padding when planning door clearance. The doors should slide freely without dragging, and the bottom guide needs a secure mounting point.
Why do sliding closet doors rub against each other?
Rubbing can happen when the doors are misaligned, the hardware spacing is incorrect, or the slabs are too thick for the track system. Check hardware compatibility and roller adjustments before trimming or replacing a door.
Can you reuse an existing track with new closet doors?
Sometimes. The existing track and rollers must be in good condition and compatible with the new doors’ weight and thickness. If the hardware is worn or its specifications are unknown, a matching replacement hardware set may be the better choice.
Planning a Bedroom or Home Remodel?
Closet doors are part of the spaces you use every day. Taking care with the installation helps those finishing details feel like a considered part of your remodel.
P. J. Hussey Construction helps Phoenix-area homeowners update their homes with attention to both everyday function and the finished look.
Contact our team to schedule a free estimate for your remodeling project.
Share this article
Follow us
A quick overview of the topics covered in this article.
Latest articles
October 17, 2026
October 17, 2026
October 17, 2026