
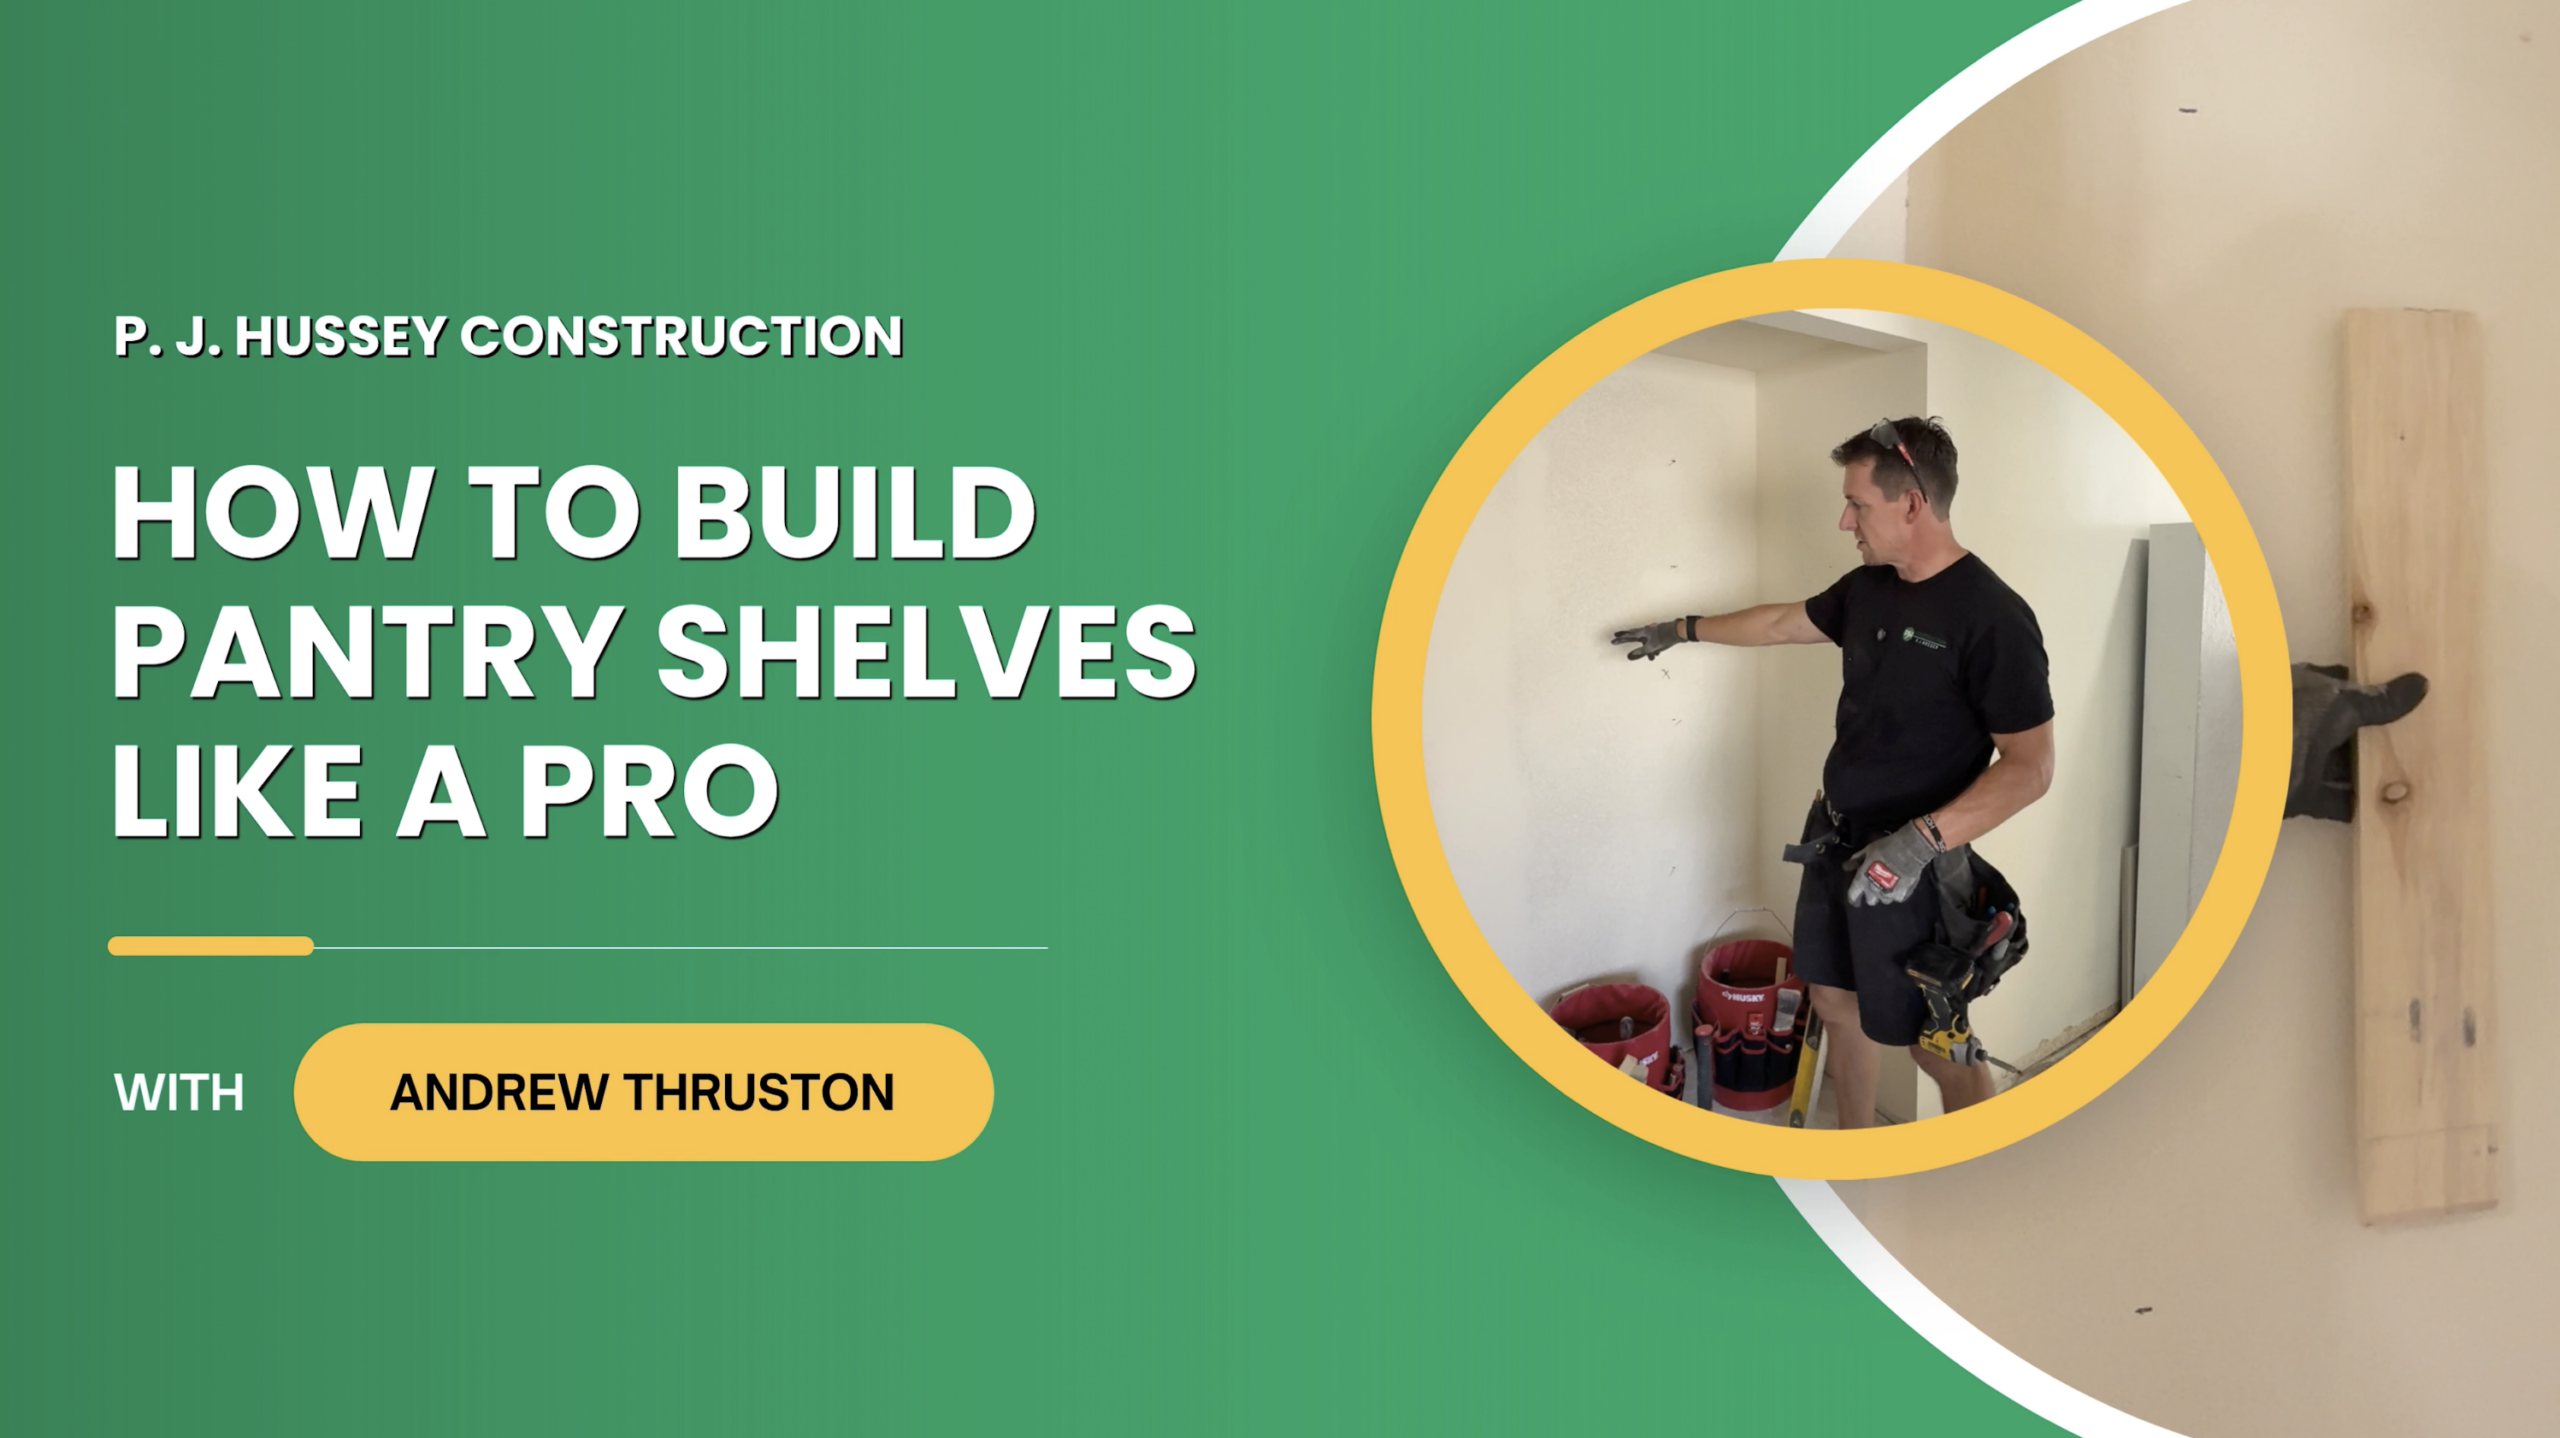
Built-In Pantry Shelves: Plan Your Storage Before You Build
A pantry should have room for the things you actually buy. That means space for cereal boxes, bulky appliances, and the occasional oversized package that refuses to fit anywhere.
In this video, Andrew Thruston with P. J. Hussey Construction walks through installing built-in pantry shelves. He shares how he plans the layout, positions shelf supports, and handles small details that make the finished pantry look cleaner.
Table of Contents
Start With What You Need to Store
Before you cut any material, think about how you’ll use the pantry. Giving every shelf the same amount of space might look tidy on paper, but it doesn’t always make the best use of the room.
For this project, Andrew plans larger openings near the floor and smaller openings toward the top. The layout includes approximately:
- 24 inches at the bottom for larger, bulkier items.
- 18-inch openings above that for cereal boxes and other taller goods.
- 12-inch openings higher up for smaller items that need less clearance.
These measurements are specific to this pantry, rather than a rule for every home. Measure your items and account for shelf thickness before marking your own layout.
Keep heavy appliances and bulky bags low so you don’t have to lift them overhead. Frequently used items should also be easy to reach.
Give Your Built-In Pantry Shelves Proper Support
The boards underneath the shelves are called cleats. They support the shelving material and transfer its weight to the wall through their connections.
Andrew points out a common problem: cutting a support board too short can leave its end without framing behind it. A board might look like it’s attached, but fastening into drywall alone doesn’t provide the same connection as fastening into a wall stud.
For this installation, he cuts the supports to reach the available framing while leaving room for the adjoining back support.
Before fastening, locate and confirm the studs with a stud finder. Visible drywall seams may offer clues, but they shouldn’t replace checking the framing.
Shelf material, span, fasteners, and expected weight all affect the support a pantry needs. Those details should be planned together.
Pay Attention to the Finished Side When Cutting
A chipped edge can make a new shelf look worn before it’s even installed.
Andrew demonstrates how blade direction affects the finished cut. As the saw teeth exit the material, they can lift or chip the surface. Positioning the finished face appropriately for the saw helps keep that damage on the less visible side.
Because the correct orientation depends on the tool, blade, and material, check your setup and make a test cut on an offcut first. Use appropriate eye protection and follow the saw manufacturer’s operating instructions.
Finish the Edges People Will See
Some support ends disappear against a wall. Others remain visible when you open the pantry.
On this project, Andrew uses tapered ends on the exposed cleats. That small change creates a softer profile beneath the shelves and gives the installation a more intentional finish.
He also checks each board before placing it. Where a cosmetic imperfection can face the wall, he positions the cleaner surface outward. Damaged material that could affect support, however, should be replaced.
Check the Level as You Install
Layout marks help position the supports, but they’re only a starting point. A thick marker line can leave enough room for a small alignment error.
Andrew temporarily positions the cleats, checks them with a level, and adjusts them before completing the fastening. Checking as you go helps keep the supports aligned so the shelves sit evenly.
Once the installation is complete, paint and finish work bring the visible surfaces together.
Consider Whether You Need Tall Storage
A pantry doesn’t have to contain full-width shelves from top to bottom.
Andrew explains that a different layout could include a vertical divider and an open lower section for a vacuum or other tall cleaning equipment. Shelves could continue above that opening and along the other side.
Although this project uses a straightforward shelving layout, the alternative is worth considering before construction begins. Planning around your household now can save you from having to rearrange the pantry later.
Frequently Asked Questions
Can you add built-in pantry shelves to an existing closet?
Yes, many existing closets can be converted into pantry storage. The layout will depend on the closet’s dimensions, available wall framing, and what you want to store. Door clearance and access to the back corners also matter.
How deep should pantry shelves be?
The right depth depends on your storage needs and available space. Measure your largest everyday items first, then choose a depth that keeps them accessible. Deep shelves can hold more, but smaller items may get lost behind other products.
Are fixed or adjustable pantry shelves better?
Fixed shelves work well when you know how you’ll use the space and want a built-in look. Adjustable shelves offer more flexibility as your storage needs change. A combination of both can also work.
Can pantry shelves wrap around corners?
Yes, L-shaped and U-shaped layouts can make use of multiple walls. However, the corners need proper support and enough clearance to reach stored items. Planning shelf depth and access together helps prevent awkward, hard-to-use spaces.
Build Storage That Fits Your Home
Well-planned built-in pantry shelves make everyday storage easier. The right spacing, secure supports, and clean finishing details all contribute to a pantry that works for your household.
Thinking about upgrading your pantry or remodeling your kitchen? P. J. Hussey Construction helps Phoenix-area homeowners create spaces that fit the way they live.
Share this article
Follow us
A quick overview of the topics covered in this article.
Latest articles
October 17, 2026
October 17, 2026
October 17, 2026